How to make a rockery for the garden
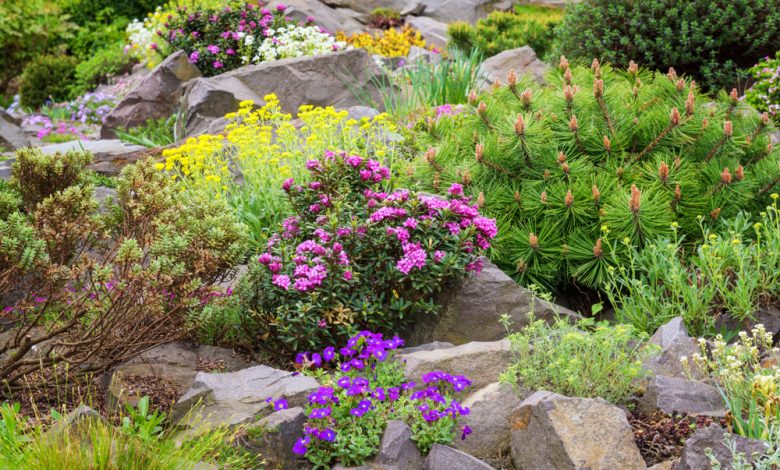
Give a different touch to the garden or terrace or even give it a rustic touch. Something that we can easily achieve if we consider making a rockery in the garden. A way to completely change our own landscape, creating an area with a different personality. And it is that something has these small rocky gardens that catch the attention of those who enjoy their presence. A small oasis of different nature that is easy to create and enjoy.
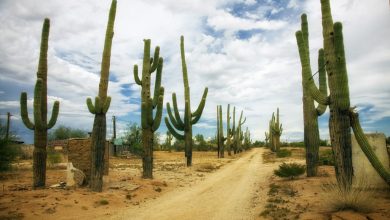
Also called an alpine garden, making a rockery in the garden is perfect for those who want to recreate that mixture of stone and nature typical of the Alps. A natural system that is also ideal for drought areas or poor soils. And not only that. It can also be the perfect solution for those areas of the garden that are uneven, or wooded and difficult to access. A perfect way of not having to give up the beauty of plants, no matter how difficult the terrain.
Although a priori how to make a rockery in the garden can be complicated, nothing is further from reality. Being able to design it happens, only, by knowing some of its maxims. A guarantee of success to enjoy that mix of stone and nature so irresistible.
STEPS TO KNOW HOW TO MAKE A ROCKERY IN THE GARDEN
Before going into details, it is interesting to know something more about this type of natural sets. Making a rockery in the garden is a tradition that dates back to the 19th century. A time when they became popular in the British Isles, impacted by the landscape of the Alps. A starting point so that, in just a few decades, they became part of the usual landscape not only in Europe but also in the entire American continent. A fact that gives us an idea of the attractiveness of rockeries.
Understanding the relevance of these natural ensembles, let’s see how to make a rockery step by step.
1. Choose the design, basic to know how to make a rockery
Before considering how to make a rockery, it is essential that we take some time to design it. Something fundamental if we take into account that we are not only talking about stones and plants. There are many more elements that we can count on, such as garden fountains, ponds or even waterfalls. Installations that require careful planning, especially with regard to electrical outlets.
In addition to deciding this point, making a rockery means creating a free space that can even seem messy. A good reason for us not to try to play symmetries or structured approaches. Or, put another way, that the ideal is that we play with an odd number of stones; and that we simulate the disorganization when planting our plants.
Another fundamental aspect of how to make a rockery is that it has to be uneven or, failing that, stepped. If we already have that space, perfect. In case we do not have it, we will have to create it artificially. If it is our situation, the ideal thing is to make a closure around the rockery. This will serve to support it and, ideally, it should also be made of stone so that it follows the guidelines of the set.
2. Define where to place the rockery
Although it may seem secondary, nothing is further from reality. Location is key to the rockery course. To begin with, we will have to place it in a place with good direct light. But beware: it is not the only important thing. In addition to this, the ideal is that it is sheltered from the wind and has good ventilation.
In addition to this, when making a rockery we have to keep it away from both buildings and trees. On the one hand, because the verticality can break the perspective of the rockery. On the other, because they can cast unwanted shadows on it. Finally, one more detail regarding the proximity of trees. They can add too much moisture to the ground, and this can be negative for our rockery.
Finally, it is essential to recognize the type of soil. It has to be preferably sandy, since it will be permeable. Something necessary for the plants we choose to succeed.
3. Prepare the ground by creating a drainage
We have insisted a lot on the issue of humidity, and it is not secondary. How to make a rockery necessarily involves creating good drainage. Something that we cannot leave aside even if the soil is ideal. A rockery demands a much greater evacuation of water than usual. Hence, it is essential that it be uneven. But not only that: we will also have to count on making a drainage layer.
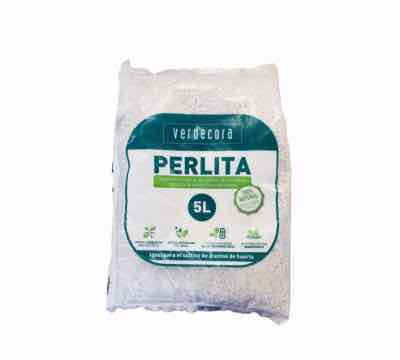
The ideal is to make a layer of between 30 and 40 centimeters that mixes coarse sand with perlite and other elements, such as pieces of pots, that help filter the water. In order for the water to drain correctly, we will have to carry out the drainage starting from the top of the rockery until we reach its base.
4. Trace the stone scheme to be able to fill the terrain
The impatient perhaps have not reached this point of how to make a rockery. However, it is time to begin to see the true form of our composition. With the soil prepared, it is time to place the stones. If we have some from the area where we live, fantastic. If not, we can always count on garden stones to make a rockery.
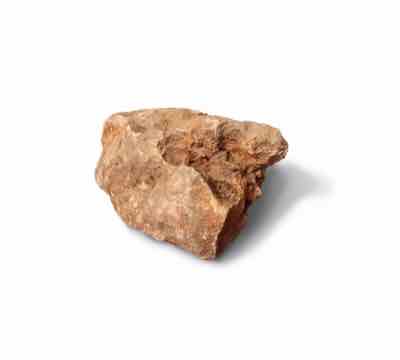
When placing the stones, you have to be careful in two aspects. On the one hand, because the largest stones must be placed at the base. Only then will the set have the stability it needs. On the other hand, the ideal is to bury them two thirds of their volume. In this way, they will not only have stability, but we will also prevent them from moving with rainwater or the passage of time.

It is also important to leave gaps between each stone. Thanks to this, the water will be able to flow without moving the stones, and the plants will be able to grow freely. Once we have them in place, it is time to fill the ground with earthworm humus.
With the fundamental structure of the rockery ready, it is time to place the smaller stones on top. And, simultaneously, we will fill with substrate to fix them to the ground.
5. Define the colors of the plants
Well, a little more patience. To finish making a rockery, we will have to wait a little longer. How many? Between two weeks and a month. Sufficient time for both the substrate and the stones to settle. Only then, when we start planting, the land will be the closest thing to the one that will last over time.
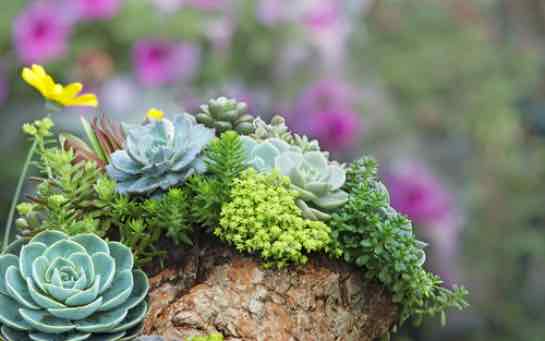
This waiting time will come in handy to define the colors of the plants in our rockery. A task for which we have to take some time, since they will be responsible for giving dynamism to the whole. It must be clear that the chromatic base of a rockery is green in any of its variants. Therefore, the incorporation of color must be careful. The presence of flowering plants should be reduced to small touches of color.
6. Choosing the plants, just as important as knowing how to make a rockery
Another aspect of how to make a rockery to take it easy. And it is that, as we already mentioned, the living conditions of these small rock gardens is unique. Therefore, it is important to discover which are the best plants for rockery. A way to choose plants that will thrive properly.
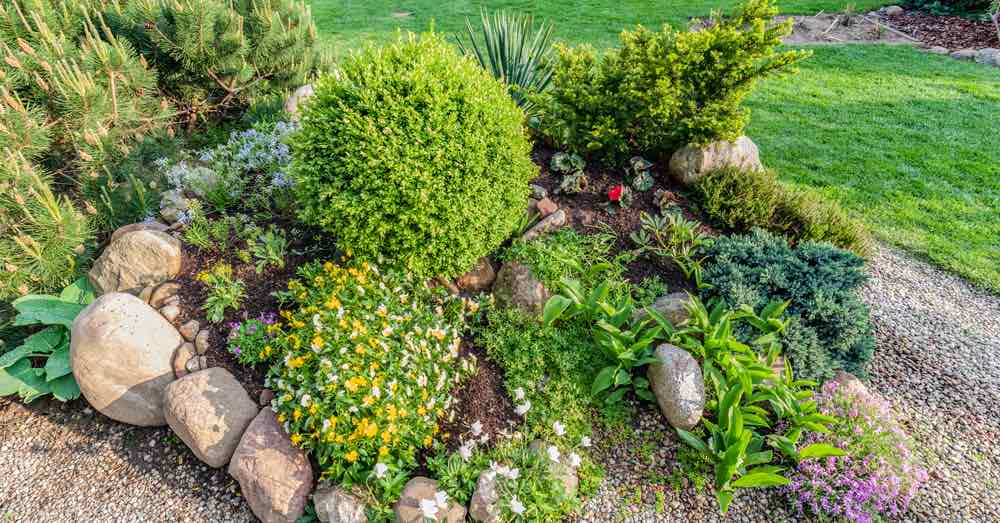
To serve as a guide, a rockery must have a well-defined plant structure: bushy plants or shrubs, groundcover plants and climbing plants. Beyond which plants we choose, two tips. On the one hand, that they have different flowering cycles so that we always enjoy color in the rockery. On the other, plant them creating small groups that do not exceed four units.
7. Cover the rest of the ground
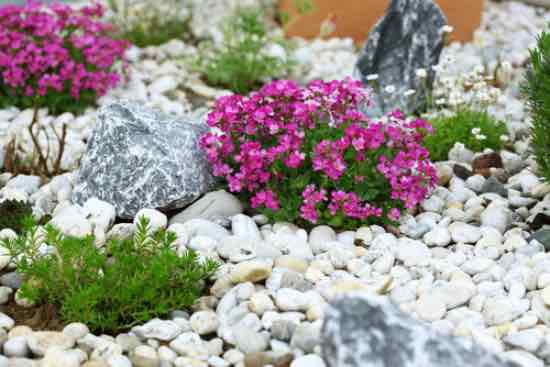
With all the plants in place, the last step remains: cover the substrate that is not planted. We can do it both with white decorative stone, if we want a more striking result; or with pine bark.

Be careful if we have planted bulbs, since they will not grow normally with any of these two decorative elements on top.
Dare to make a rockery in your garden, and enjoy its beauty!
![Photo of Nandina cuttings: [Grafting, Season, Rooting and Sowing]](https://www.complete-gardening.com/wp-content/uploads/2021/06/nandina_1612647032-390x220.jpg)