Irrigation on Vacation: 3 simple systems to water plants
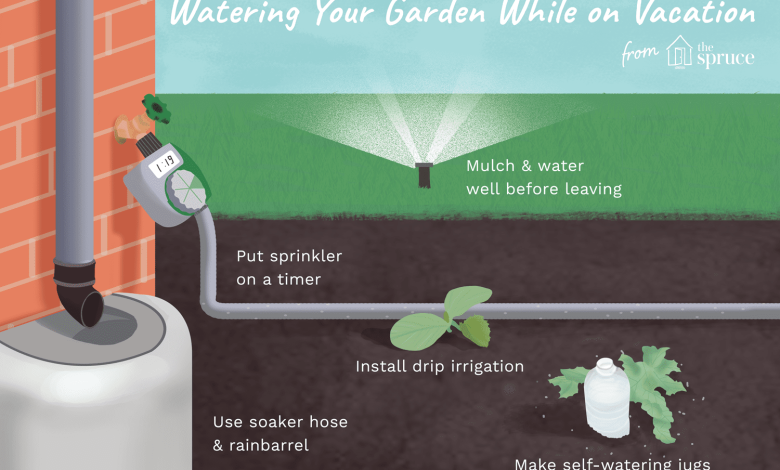
Hello to all Farmers! Today we are going to see three solutions for irrigation on vacation, they are three systems to water plants when we are not at home. These simple self-watering systems for pots will help us keep our plants alive while we are away from home, whether on summer vacation, a getaway or for work.
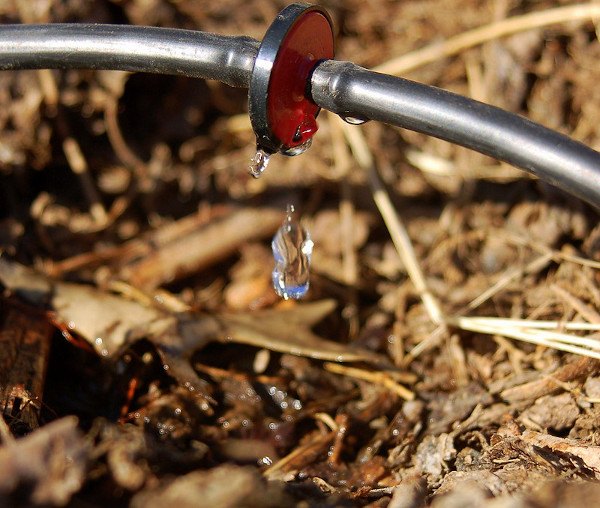
Water the plants on vacation
This type of self- irrigation is also a good option for those who do not have a very good hand with irrigation or have irregular schedules that can make them forget about cultivation tasks like this. Thanks to these homemade irrigation systems we will maintain moisture in the potting soil and our plants will not dry out due to lack of water.
Necessary materials
In addition, by using recycled materials we add another grain of sand to achieve a more ecological and sustainable garden or flowerpot.
The materials that we are going to use to make the irrigation on vacation are very cheap and easy to get: an esparto cord and recycled plastic bottles.
3 vacation irrigation systems: Self-watering for plants
Irrigation with esparto rope and deposit
This first method of watering on vacation is very similar to one of the ones we talked about in the article on recycled self-watering pots.
The only difference is that, in this case, the water tank is not made up of the pot itself, but is outside. Precisely as a deposit I have used a recycled plastic bottle, but you can use any other container. The container or water tank (in my case, the plastic bottle) must have a small surface opening to prevent too much water from evaporating in the high summer temperatures.
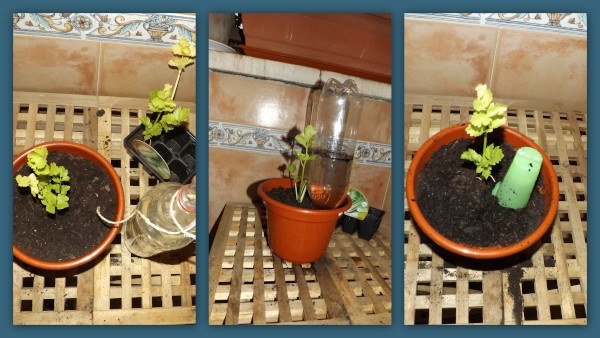
All we have to do is cut a piece of esparto rope long enough to join the bottle with the substrate, as seen in the image on the left.
It is very important that the rope reaches the bottom of the bottle or tank, so that as the water is spent, the rope can continue to be in contact with it. Finally, bury the other end of the string well so that it does not come out of the substrate and you can go on vacation!
Watering on vacation with recycled bottle
This method is based on burying a recycled bottle filled with water in the substrate so that the water passes to the latter when it is needed.
You just have to take a plastic bottle, it can be of any size, but keep in mind that the more capacity it has, the greater the autonomy of irrigation, that is, the longer it takes.
Cut out a small square from the «bottom of the bottle», that is, from the bottom. The cutout has to be big enough so that we can fill the bottle from the outside, but keep in mind that the bigger it is, the greater the evaporation of the water we have stored.
Once the hole is cut, you just have to bury the bottle upside down, with the nozzle in the substrate, and fill it with water through the hole that we have previously cut.
I recommend that, before burying it, you remove the cap from the bottle and plug the nozzle with a cotton ball. I did not do this and put the bottle in the substrate with the nozzle fully open; the result: a «flooding» of the terrace. With the nozzle plugged with cotton, the water will not pass through so easily and you will avoid unwanted puddles.
There are also other variants, such as burying it with the cap on, in which we have previously made a hole so that the water from the bottle can pass into the substrate. With this system, the plants last for a long time without the need for another type of irrigation.
Holiday irrigation using Aqueous Gel
As I have mentioned in the video, I have decided to show you this “holiday irrigation method” because it is very simple to operate and can be a good alternative to the others. In addition, the bottle of gel is smaller than the bottles and goes more unnoticed, for those who are more concerned about aesthetics.
I also decided on this type of self-watering because of its price. As I explain in the video, it cost me 99 euro cents, and it has a range of between 15 and 30 days, depending on the environmental conditions and the plant. (If you are interested in other keys to make a cheap urban garden, I leave you that link with other tricks to save when making a garden).
The operation of this self-irrigation system is very simple. First of all, you must water the substrate abundantly. Then, make a small hole in it to later bury the bottle of aqueous gel upside down. Of course, do not forget to uncover the pot before burying it!
Now you no longer have an excuse to grow crops throughout the year, even when you are going to be away from home for a while, because we have presented you with several methods of irrigation on vacation. In the post about recycled self-watering pots we have another option. As you can see in the photo, it is a flowerpot made of plastic bottles that have a built-in tank so that we don’t have to water them.
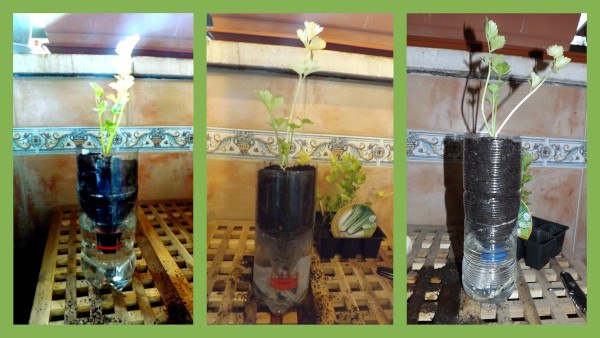
Video tutorial to make a homemade self-watering system
In this case, two of the methods that I propose you can make yourself as I explain in the video, and the last one is a commercial gel that can be a good alternative for those who do not have time or simply prefer this option.
I hope you liked this new video of Agriculture for RURbanitas, from Agrohuerto TV. Next, in the description, I leave you the explanation of the three homemade self-watering methods. I hope you like it!
(Forgive me because the video looks a bit so-so, it came at night!)
I hope that it will be of great help to you and that you tell us about your experiences with irrigation on vacation if you have already tried these or other self-irrigation systems. I wait for you in the next article!

![Photo of Prune Quince: [Importance, Season, Tools, Considerations and Steps]](https://www.complete-gardening.com/wp-content/uploads/2022/08/prune-quince-importance-season-tools-considerations-and-steps-390x220.jpg)